How can I create a storytelling map with CARTO.js?
Learn how to create a story map with CARTO.js, in combination with the Storymap.js library.
Overview
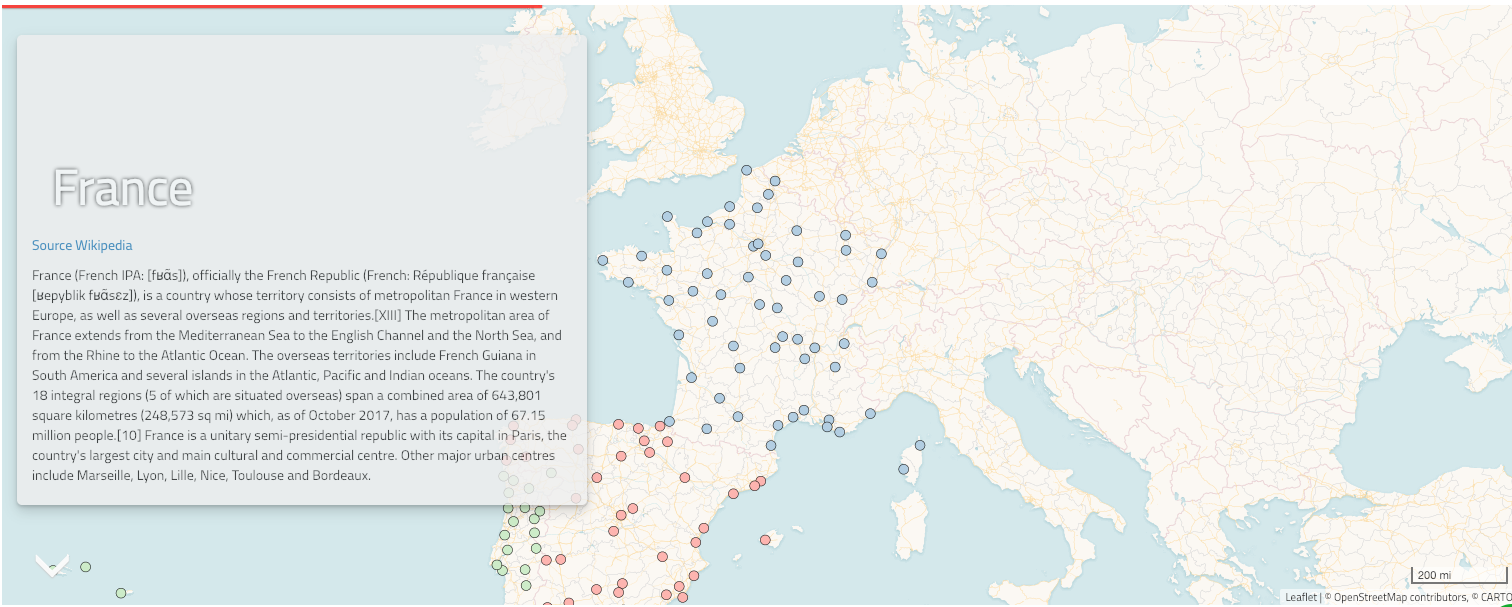
We built a storytelling map with CARTO.js and Storymap.js in this CARTO Developer Center example. You can advance through the story by by scrolling down the map’s left side, or by clicking on the arrow that appears at bottom-left. The map is using different fields from CARTO’s ne_10m_populated_places_simple dataset.

As you advance, the map’s zoom level and center changes to fit the appropriate location for each scene.
In order to achieve this effect we follow the next steps:
- Create a CARTO.js map with one layer, as demonstrated in this example.
- Create the map’s
scenes. Asceneis a section of your map’s story that users navigate to by scrolling the left side of the map or by clicking the lower-left arrow button. Eachsceneshould contain the information you want to display in the left panel, and coordinates. Scenes are defined with a<section>element, using this notation:<section data-scene="scene1">....</section> - Create a JavaScript object named
layers. In our example the object contains a CARTO data layer and a CARTO basemap. - Create another JavaScript object containing each scene. In our example we created an object named
scenesthat containsscene1,scene2,scene3, andscene4. Each of these scenes contains the coordinates and zoom level we use to center its map, the layers (which are defined in thelayersobject) we want to use, and a name. - Initialize the Storymap.js object, with settings for the various options we want.
Storymap.js object options
In order to have more detailed information about how StoryMap.js works, we would strongly recommend taking a look at the Storymap.js library page.
In the next block of code, we can see the different options used to initialize the CARTO.js + Storymap.js map.
The createMap function sets the map object, the base layer, and the CARTO layer.
// initializaze storymap
$('#storymap').storymap({
    scenes: scenes,
    layers: layers,
    baselayer: layers.basemap,
    legend: true,
    loader: true,
    flyto: false,
    scalebar: true,
    scrolldown: true,
    progressline: true,
    navwidget: true,
    createMap: function () {
        let map = L.map($(".storymap-map")[0], { zoomControl: false }).setView([30, 0], 3);
        // add basemap
        this.baselayer.layer.addTo(map);
        // add carto layer
        layers.cartoLayer.layer.addTo(map)
        return map;
    }
});