


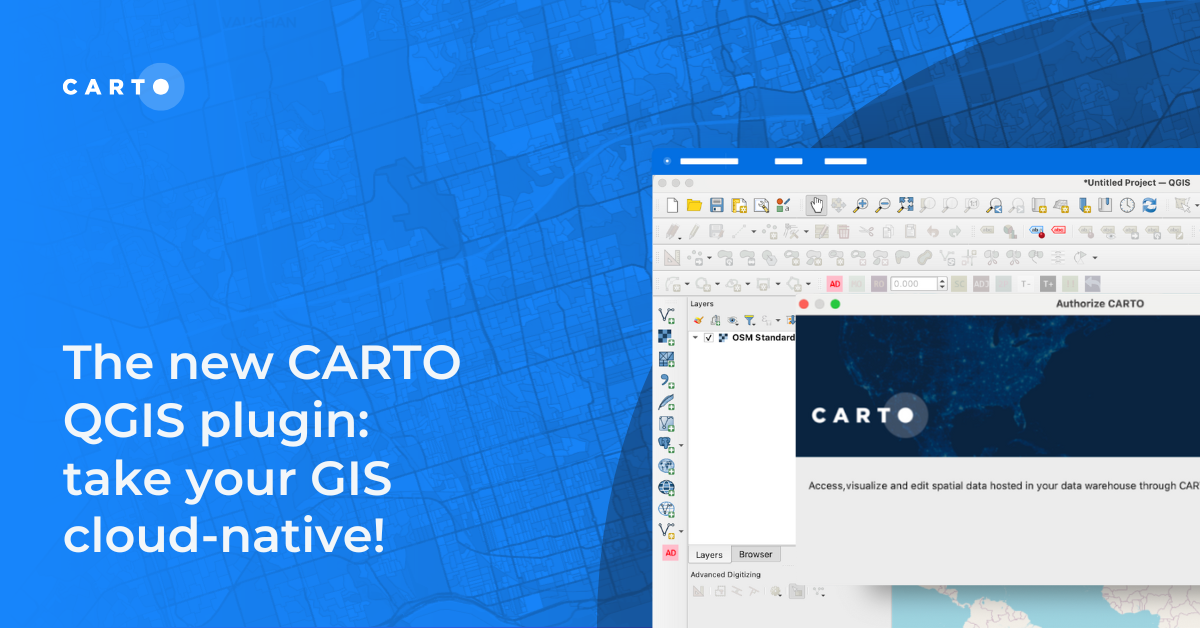
The new CARTO QGIS plugin: take your GIS cloud-native!


In the past few years, geospatial technology has fundamentally changed. Data is getting bigger, faster, and more complex. User needs are changing too, with an increasing number of organizations and business functions adopting data-centric decision-making, leading to a broader range of users undertaking spatial analysis.
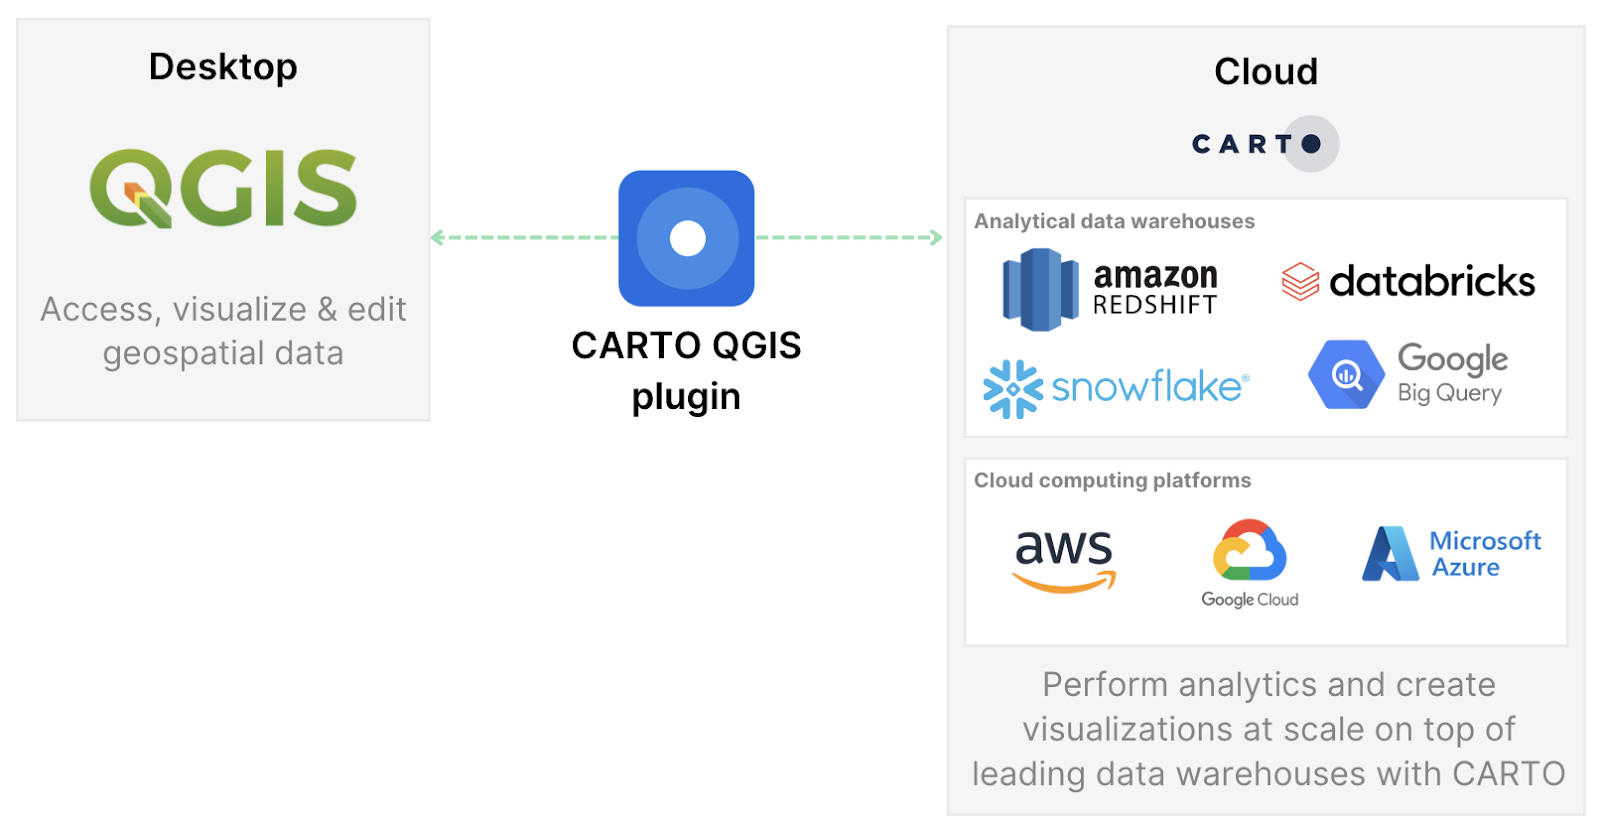
This evolving landscape has given rise to a more scalable, secure and interoperable tech stack - an ecosystem of tools and technologies designed to handle the demands of contemporary data workflows. In this stack, cloud-native platforms like CARTO are increasingly being used to scale and democratize spatial analytics.
Interoperability and integration of data and platforms are absolutely fundamental to the success of the modern tech stack - and that’s why we’re excited to announce our new CARTO QGIS plugin! Keep reading to learn how you can use this new tool to more easily access, visualize & edit your cloud-hosted geospatial data in QGIS.
QGIS is an open-source desktop GIS application that has become a cornerstone for geospatial professionals. Its importance lies in its flexibility, cost-effectiveness (it’s free!) and the strong community that continually enhances its capabilities.
However, users of desktop GIS tools like QGIS are increasingly encountering a range of challenges.
- Working with large datasets: desktop GIS platforms struggle to scale as data is becoming bigger, faster and more complex. For example, running a spatial buffer on the same ~300,000 points is 96% slower with a desktop GIS. In addition to slower processing times, rendering times are also slower. Below you can see the same dataset being rendered in CARTO (left) and QGIS (right), with the former leveraging cloud-native connectivity and dynamic tiling to render the same table almost instantly.
- Data silos: as more data-intensive business functions move to the cloud, users of desktop GIS platforms like QGIS are increasingly finding their geospatial data siloed from their organization’s data ecosystem, risking multiple “sources of truth” and compromising data security.
- High skills barrier: in addition to creating a data silo, platforms like QGIS risk creating a skills silo within their organization. Traditional GIS platforms often require a highly specialized skill barrier for entry, with GIS skills not necessarily being interoperable with the wider data analysis skillset. This comes at a time when most organizations are attempting to democratize their data analytics to drive transparency, trust and efficiency.
- Static outputs: QGIS is designed mostly with static map outputs (think PDFs and jpegs) in mind. One element of the democratization of geospatial is the move from these more static map outputs to interactive, dynamic and web-based visualizations. These bring decision-makers closer to your analysis, dramatically shortening the time-to-insight. While it is possible to create web maps with QGIS, the skills barrier for creating these is even greater than that for static maps.
So, what does the future look like for QGIS users?
To address these challenges, many organizations are modernizing their geospatial tech stack with cloud-native solutions like CARTO. The benefits of this approach include:
- Interoperability: By joining other data-intensive functions - such as data analysts, scientists & BI analysts - on the cloud, you can ensure seamless integration with other data functions and platforms. This means a single source of truth database, and a broader range of skills to draw on to perform more advanced analytics.
- Scalability: Easily scale your analysis to handle large datasets and high-velocity data streams. In addition to cloud connectivity, CARTO users can benefit from data formats like Dynamic Tilesets and Spatial Indexes which are designed for truly enormous Location Intelligence.
- Data Security: Cloud-native platforms offer robust security features to protect private and sensitive geospatial data. Learn more about data security on the cloud here.
- Democratization & Collaboration: Enhance collaboration both within internal teams and with external partners. Benefit from tooling designed to lower the skills barrier for spatial analysis, such as CARTO Workflows - our no-code solution for running complex data processes the easy way.
For more detailed insights on modernizing your geospatial technology, check out our free ebook Modernizing the Geospatial Analysis Stack!
While the advancements in cloud-native platforms like CARTO offer wide-ranging benefits, they may not entirely replace all of the functions that more traditional desktop GIS like QGIS offers. Instead, they complement each other well, creating a more robust and efficient geospatial tech stack.
Some key use cases for a desktop GIS are:
- Editing and Creating Geometries
- Creating Static Maps
- Coordinate System Transformations
- Data format transformations (e.g. converting a DWG to a geojson)
However, if you find yourself frequently waiting for data to render or analytical processes to run - or if you need better integration with your wider data stack in the cloud - pairing your desktop GIS with a cloud-native solution like CARTO can be highly beneficial.
So, how can you best leverage your cloud-native tech stack for your large-scale analytics and visualization whilst still fulfilling your desktop GIS needs? We’ve got the answer you need - the brand new CARTO QGIS plugin!
So… what does it do? The plugin establishes a connection between QGIS and your CARTO account, allowing you to access, visualize and edit your cloud-hosted geospatial data, directly from QGIS!
Here’s how you can get started:
- Open QGIS and navigate through the Plugins drop-down to Manage and Install Plugins… Find the CARTO plugin and install!
- You can access the newly-installed CARTO QGIS plugin in the Plugins toolbar (if you can’t find this, head to View > Toolbars and enable the Plugin toolbar).
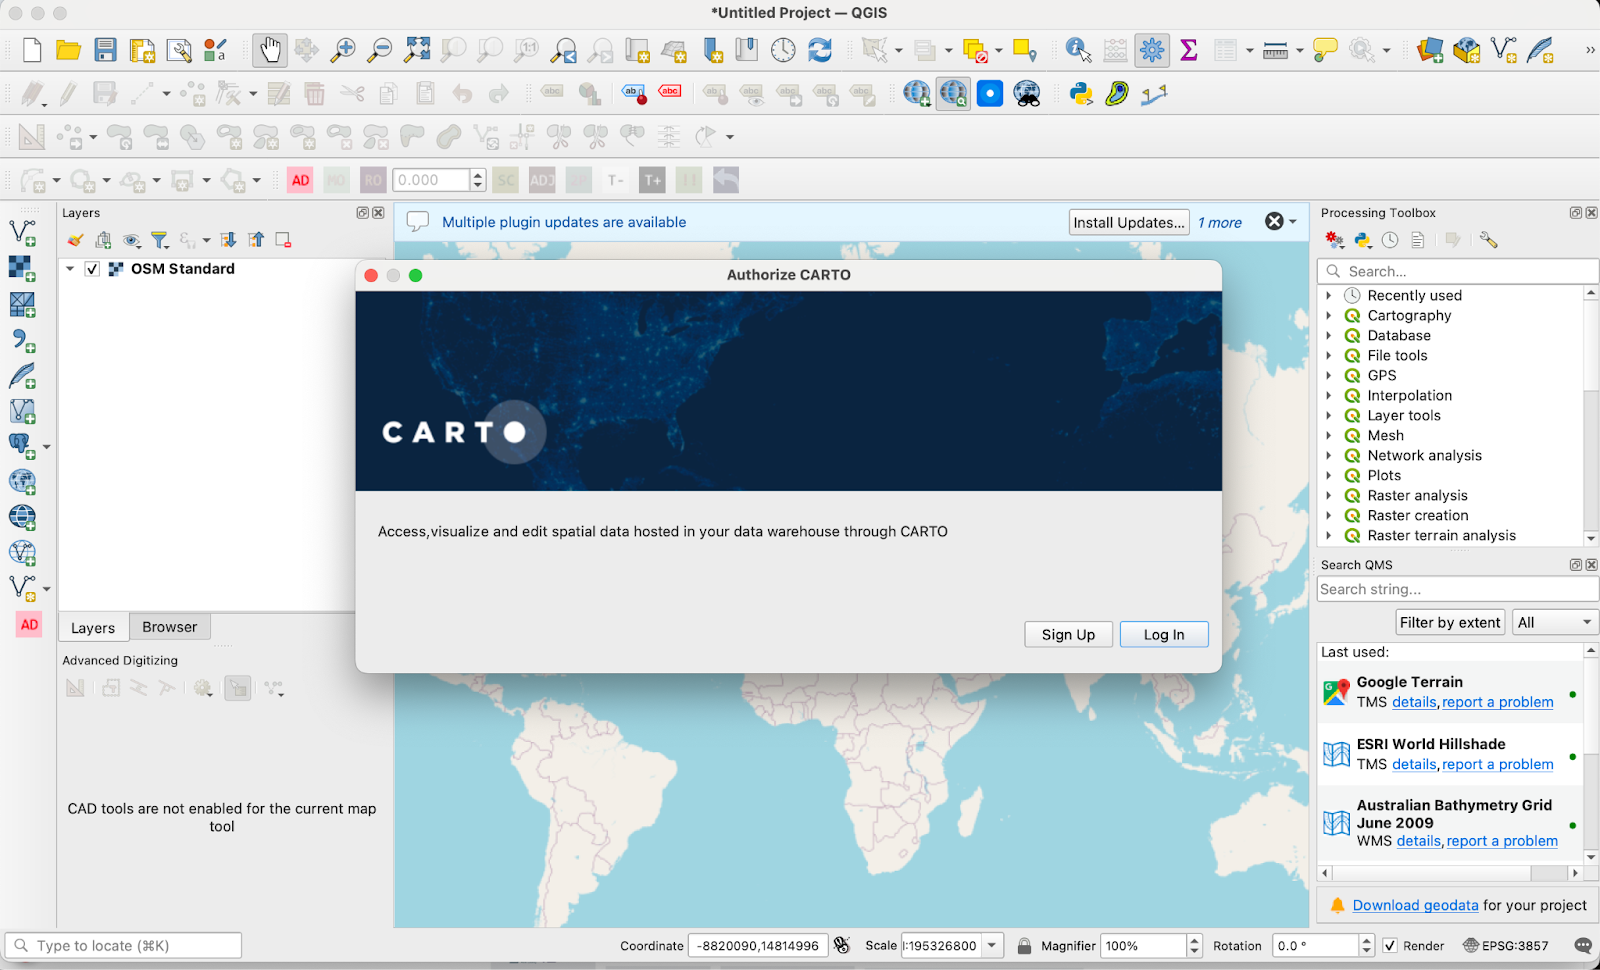
- Click the CARTO icon - you’ll be prompted to Log in to authorize access to your CARTO account.
- Once logged in and authorized, open the Browser (if you can’t see it, head to View > Panels > enable Browser Panel). From here, you should be able to view all of your data warehouse connections and explore your data!
- You can right-click on any table to add it to your map or view the table details. Once in your map, you can edit the table like you would any other layer in QGIS. When you’re done - set a primary key, save your edits and they’ll be pushed directly back to your cloud data warehouse - easy!
Check this out in action in the video below:
Want to learn more? Check out our tutorial on the CARTO Academy which shares a full example of this in action - from georeferencing an image and digitizing your data in QGIS, to transforming this into a fully interactive dashboard in CARTO!
This is just the beginning for the CARTO QGIS Plugin! The initial launch is version 0.9 of the product. With version 1.0, we’ll introduce exporting data from sources to QGIS in GeoParquet format, improving performance, interoperability, and scalability - learn more about how GeoParquet can improve your geospatial workflows here.
—
Want to learn more about how you can start building a more modern geospatial infrastructure? Schedule a demo with one of our experts and start your journey today!


.png)

